Freshening the look of your wood deck is easier than you might think. All you need is a few hundred dollars and a handful of hours over the course of a week to apply a coat of wood stain or a clear sealer. Deck stains and sealers are protective coatings that not only increases the lifespan of the deck and create a barrier against UV rays and weather, but they can also enhance the look of the wood. Stain can reduce your household tasks by making a deck easier to maintain, too.
As home improvement contractors and deck builders, my husband Mark and I have found that the most crucial considerations for a successful deck stain is timing with the weather and methodical prep. Here’s what you need to know to stain a deck.
What’s the Ideal Time of Year to Stain a Deck?
Before picking dates to stain a deck, check the forecast to make sure you’ll have at least four clear days ahead of you. It takes just a few hours to clean a deck, but it takes two days for the deck to dry out before you can apply stain or sealer. And, then you’ll need at least 24 hours of clear weather and no foot traffic after staining. It’s better to have 48 hours.
We’ve found that the best time of year to stain a deck is fall. Many would disagree and say springtime is better, but we tend to have frequent rain showers during spring. Summer tends to be too hot and humid for staining. While we have to battle falling leaves during the autumn months, the temperature is usually in the sweet spot for stain—between 50 and 70 degrees—and there’s usually more strings of days that are clear in a row. It also is a great way to protect a wood deck before heading into winter. Then your deck is ready to enjoy when the warmer weather comes in the spring.
What Materials Do You Need to Prep a Deck for Staining?
Theresa Clement
Just like a painting project, there’s more to staining a deck than just a few gallons of stain in a chosen color. In order for the deck stain to properly adhere to the wood surface, some prep is needed and the right applicators can make a world of difference in how easily and quickly you can apply stain. If you are wondering how much it costs to stain a deck, it depends on whether or not you already own some of these supplies. If you don’t own any, make sure to budget at least $250 for an average-sized deck.
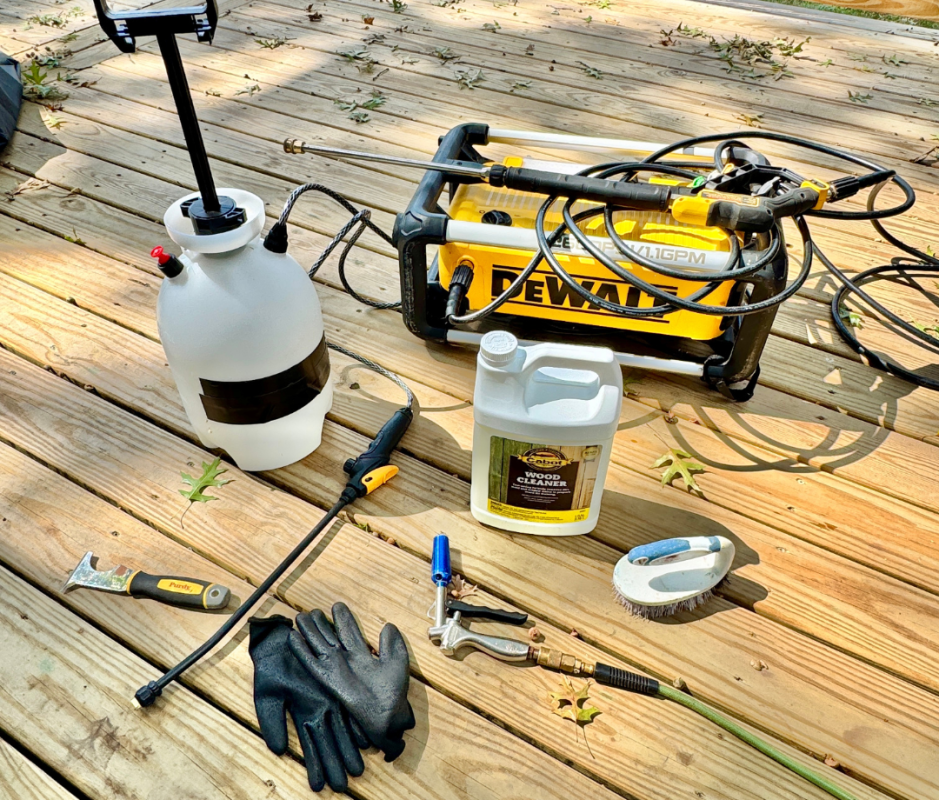
Deck-Staining Prep Supplies
Here are the supplies we use when prepping a deck for stain or sealer.
- Painter’s multitool
- Scrub brush
- Blower or broom
- Deck detergent
- Pump sprayer
- Pressure washer or hose
How Do I Prep a Deck for Staining?
The success of a deck stain depends on careful prep and making sure the weather is ideal for application. We follow a four-step method for prepping a deck for stain.
Remove all debris from the deck.
The first step to cleaning a deck is removing all of the leaves, sticks, and other debris that is laying on the surface. We use a blower or a pneumatic air gun, but a broom can work just as well.
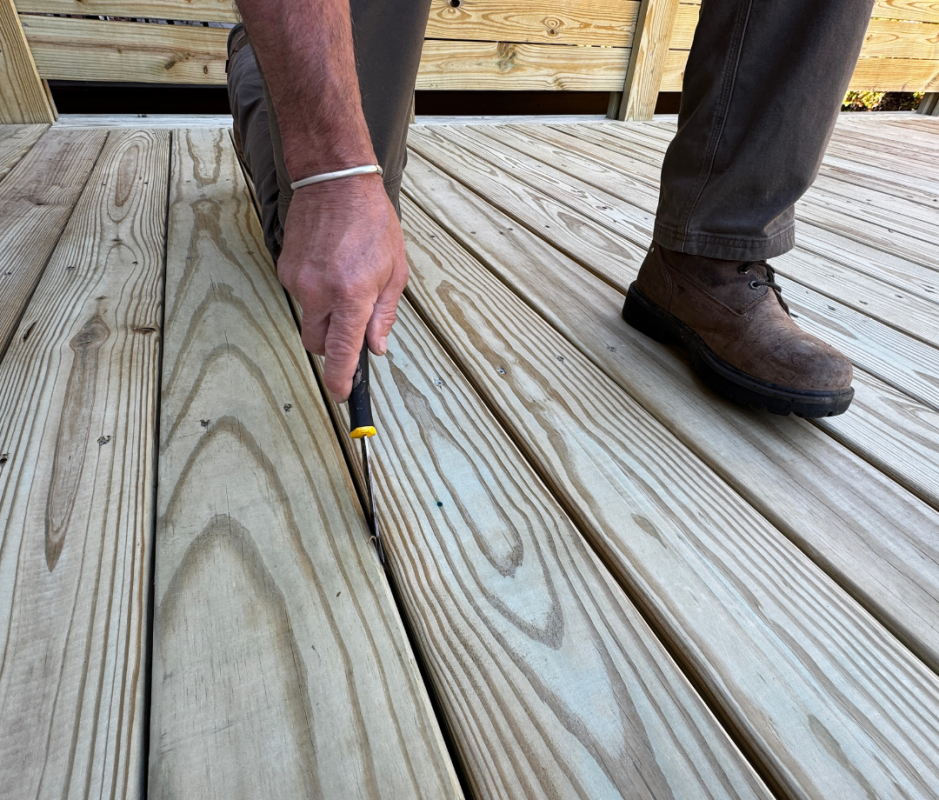
Remove debris from between the deck boards.
After removing the surface debris, we then focus on removing what’s gathered between the deck boards. A painter’s multitool can usually fit between the boards, so we run it between them. Where the decking lays over joists is a key spot where organic matter can gather. Often this matter will drop through between the boards, but we’ll go back over the deck with a blower to make sure there’s nothing lingering on the surface.
Theresa Clement
Clean the deck with deck detergent.
After the deck is clear, it’s time to use a deck cleaner that removes dirt embedded in the wood and mold, mildew, and algae. Deck cleaner can be used on wood decks as well as composite decking and concrete, too. We use a simple pump sprayer to apply the deck cleaner, starting with the vertical elements, and then methodically applying to one board at a time. If there’s any stubborn stains, use a stiff brush to scrub those areas. Let the cleaner sit for about 15 minutes before moving on to the next step.
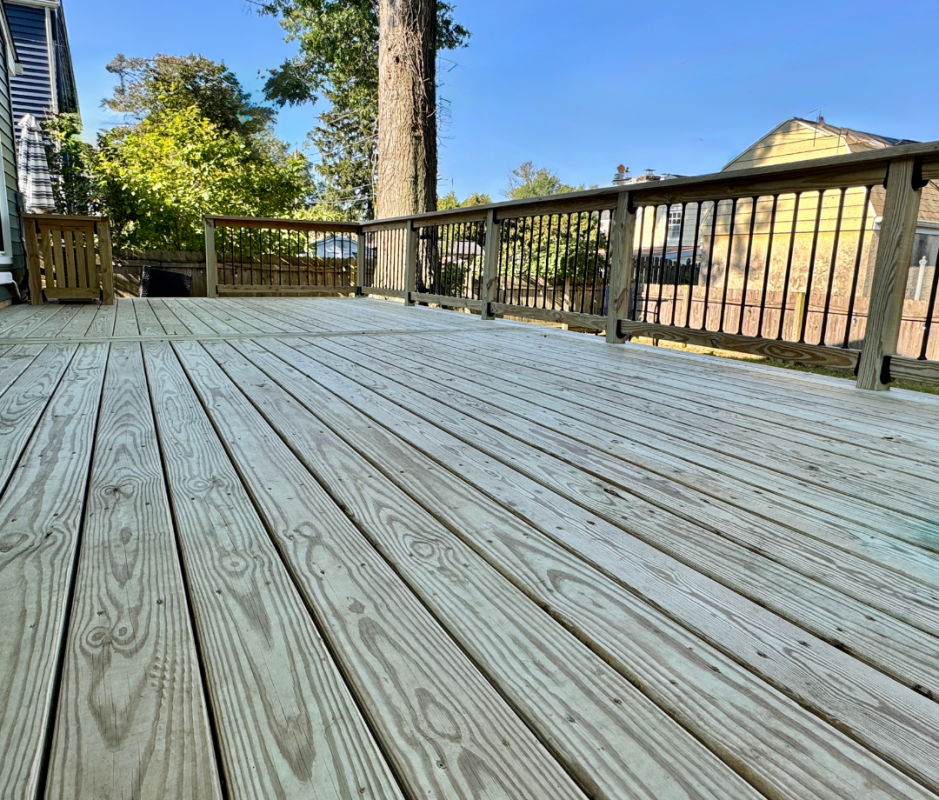
Rinse the deck.
After waiting 15 minutes, start to rinse the cleaner from the deck surface. While you can use a pressure washer or a hose to rinse it, a pressure washer is like enhanced rinsing. Just like sand paper that opens the grain of wood to receive paint or stain, a pressure washer is like liquid sanding and opens the grain on the deck boards. Rinse the verticals one board at a time, like you applied the cleaner.
Related: I Built a High-End Work Desk for Less Than $200. Here’s the Secret
Deck Staining Supplies
Here are the supplies we use when applying stain or sealer to a wood deck.
- Stain or sealer
- Stir stick or drill attachment
- Stain applicator (deck pads or brushes)
- Gloves
After you choose the deck stain or sealer, you’ll need a gallon per 250 square feet. Just don’t forget to factor in the vertical elements that you plan to stain when estimating the number of gallons. You’ll also need something to stir the stain. We use a drill attachment, but you can use a stir stick if you are thorough. You’ll also need an applicator. While deck pads are recommended by some deck stain brands, we prefer brushes and use a four-inch deck brush for the decking and a smaller brush for the details. We also wear gloves when applying the stain.
Theresa Clement
Theresa Clement
How to Stain a Deck
After waiting two full days of dry weather for the wood to completely dry out, it’s time for the fun part: applying the chosen stain to the wood deck. Here’s a step-by-step guide.
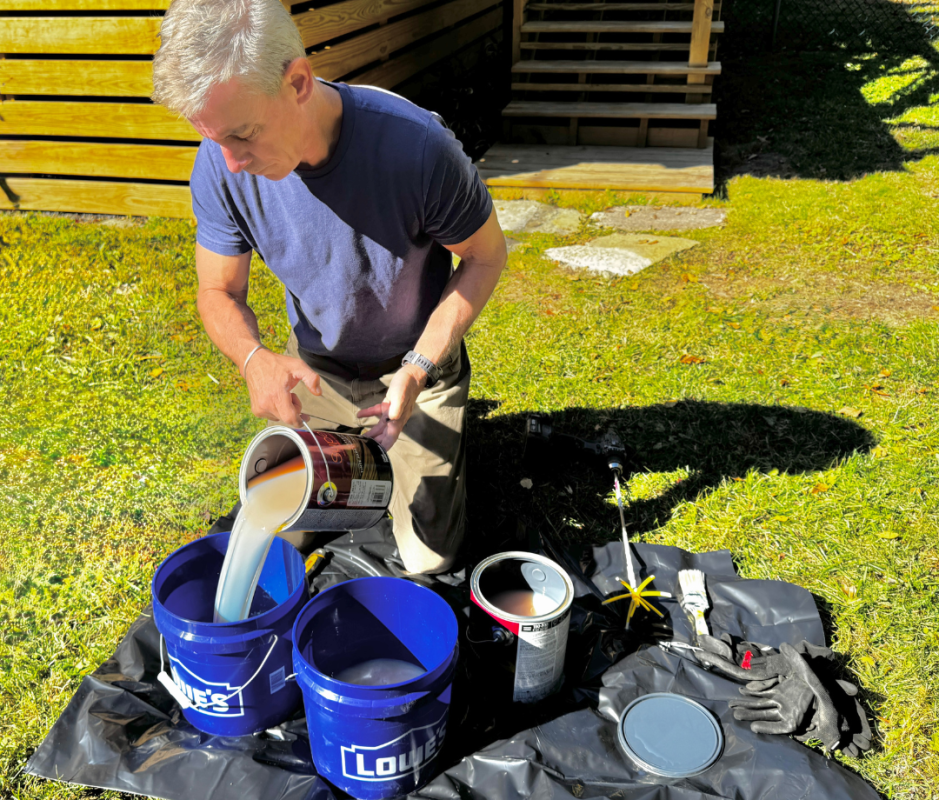
Mix the stain.
Stain needs to be stirred before using. You can use a paint stirrer or a stir attachment with a drill to thoroughly mix the stain in the cans. For a small deck that just requires one gallon, you are ready to use the stain after stirring. For larger decks that require multiple cans, we recommend mixing stain from multiple cans into another bucket. This way, if there are any color discrepancies between the cans of stain, they will be blended prior to application.
Theresa Clement
Apply stain to verticals.
After putting on gloves, start applying stain to the vertical elements like a privacy screen. We work from the bottom up on these elements so if there are any drips, they blend into the wet stain. If we are using a solid or clear stain, then we go over the entire surface to blend any drips before moving on to the next step.
Note: If you are using a semi-solid stain, you can’t do touch-ups or blend drips without it being noticeable. So I don’t recommend a semi-solid stain for new DIYers.
Related: This Stain Is the Secret to a Smooth, Drip-Free Wood Finish on Furniture and Cabinets
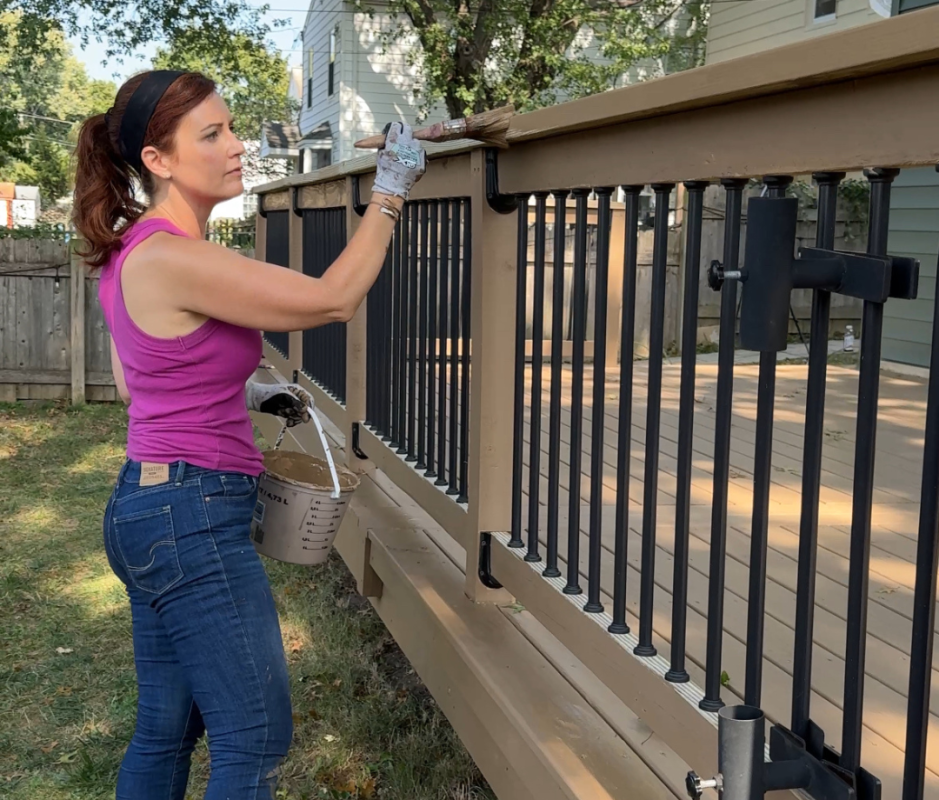
Stain guard rails.
Next, apply stain or sealer to the guard rails. While a four-inch deck brush can easily apply stain to the face of a guard post, we use a smaller brush for the details. Mark likes a round brush, and I prefer a one-inch angled paint brush.
Make an exit strategy.
Before starting to stain the decking surface, make an exit plan. You will need to be able to leave the deck without walking on the newly stained surface. If there are deck stairs that lead into the yard, start applying stain by the house and work your way toward the stairs. If you don’t have stairs, then plan to finish by the door into the house.
Theresa Clement
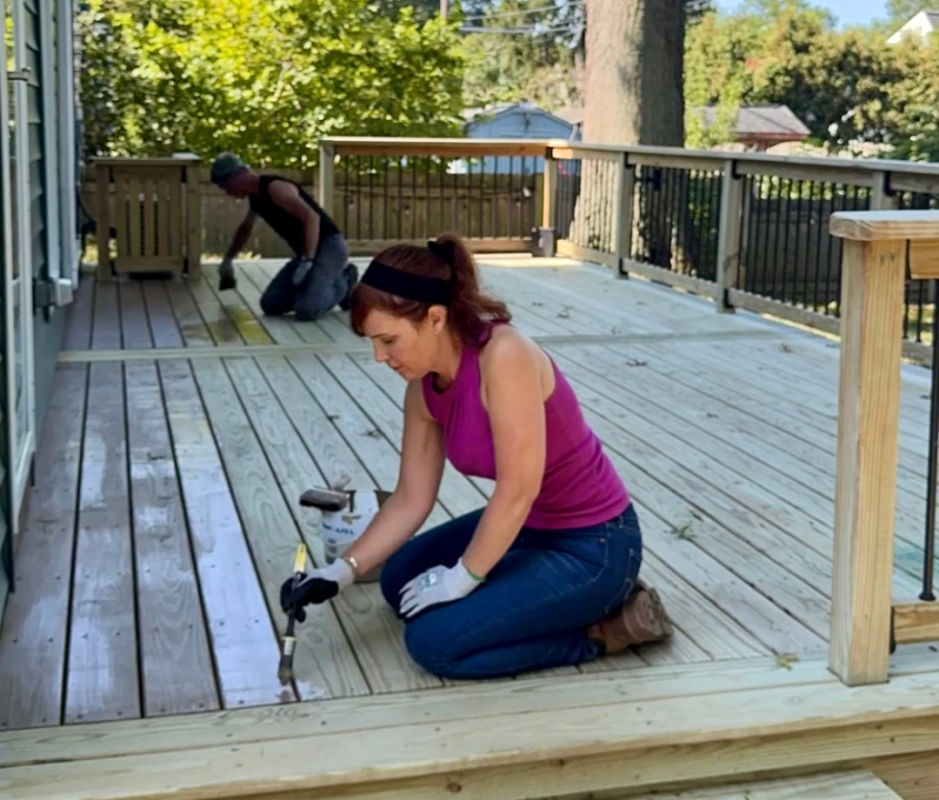
Start applying stain to decking.
Apply stain to one or two decking boards at a time, moving along the length of the board. While a deck pad can also work fine, we’ve found that a three- or four-inch brush can be ideal to get maximum coverage and have better control over the application. You’re also more likely to have drips from a painter’s tray to the boards when using a pad.
Stain the outside of the deck.
After all of the surfaces are stained from inside the deck, it’s time to stain the outside of the deck. If you are lucky enough to be able to reach the guard rails from the ground, it will go a lot faster. If you have to use a ladder, just make sure to never reach more than your pants’ zipper. It’s a pro safety rule that is always worth following.
Theresa Clement
What’s the best method to apply stain to a deck?
While there may be some debate over the best method to apply stain to a deck, I’ve found that it’s best to use a paint brush and to apply it to one or two boards at a time. For the deck surface, a four-inch deck brush is great and trim brushes are better for the details.
What are common deck staining mistakes?
There are many common deck staining mistakes that happen due to weather, misinformation, or trying to finish quickly. Here are some of the pitfalls I’d like you to avoid so that you have a successful result.
Don’t stain it before the wood is ready.
Pressure-treated wood needs to dry out because of the chemical bath of preservatives it takes to make it pressure-treated. If you stain it before the wood dries out, the stain won’t adhere. Usually, it’s best to wait six months after a deck is built before sealing or staining it.
Don’t stain when it’s expected to rain.
Always check the weather before scheduling a deck staining project. You’ll need at least two clear, dry days before applying stain to a wood deck. If the deck is not fully dry, the stain can peel or flake off and then end up looking patchy.
Related: Birds Wrecking Your Porch? Use These Humane Hacks to Keep Them Off
Don’t stain before a party.
Never stain a deck right before a party. You’ll need at least 24 to 48 hours before a newly stained or sealed deck can take foot traffic and furniture.
Don’t let your dog walk on the stain.
Make sure that your pups don’t have access to a newly stained deck before it’s fully dry. Yes, one of our clients let her dog out on the wet stained deck and they left little paw prints permanently in the deck stain. The good news is that she thought it was charming.
Don’t stain when the humidity is high.
High temperatures or humidity makes it tougher for stain to adhere to a wood deck. If it’s too hot, the drying process is sped up too fast and it’s tough to get a proper coating. If it’s too humid, then the wood is moist and it’s like there was misty rain so the stain can’t properly adhere and can flake off.
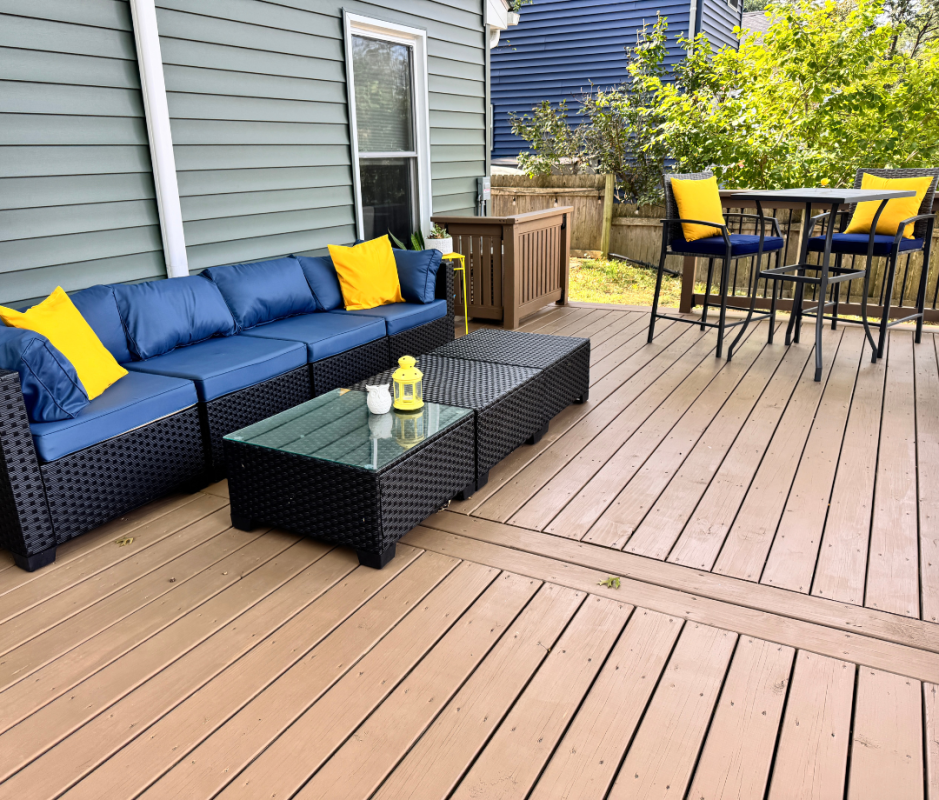
Don’t forget about an exit path.
Always plan an exit strategy before starting to apply stain or sealer so you don’t have to walk on the freshly stained wood. For the deck above, we started applying stain to the boards along the house and then paused for the six boards at the steps, and then stained from the outside of the deck to the steps.
Related: Experts Reveal the Most Durable Garage Floor Coating You Can Buy
What is the difference between deck stain and sealer?
When choosing a coating for a wood deck there are three main options: clear sealer, semi-solid stain, and solid stain.
Clear sealer
Clear sealer is a good choice for those who like the look of their wood deck but want a protective coating to extend the life of the wood. While it’s easy to apply and can be touched up within a few hours, deck sealing only lasts one to two years. The more shade the deck receives, the longer it can last.
Semi-solid stain
Semi-solid stain is a good choice for those who like the wood grain but want to change the color of the deck. This is the most finicky type of deck stain as it can’t be touched up without being noticeable, so I wouldn’t recommend it for a new DIYer. It lasts about two to three years.
Solid stain
Solid stain is a great choice for those who want the longest lasting option and a solid color for their deck. While deck stain brands offer a selection of colors, you can also get any color mixed as long as you bring in a sample color for the specialist to color-match. It applies like paint and can last up to five years.